Tools · Professional education
Steps for Pinhole Pupilloplasty
For ophthalmic professionals. This overview is not a complete operative protocol.
Assess the preoperative condition
Review the patient’s preoperative ocular condition.
Review the indication
The app lists keratoconus, pellucid marginal degeneration, corneal scars, and eyes after DALK or penetrating keratoplasty as settings for consideration. Suitability requires individual assessment.
Assess astigmatism and aberrations
Review the preoperative Pentacam Holladay report for astigmatism and higher-order aberrations (HOAs).
Determine the preferred aperture
Plan the pupil size
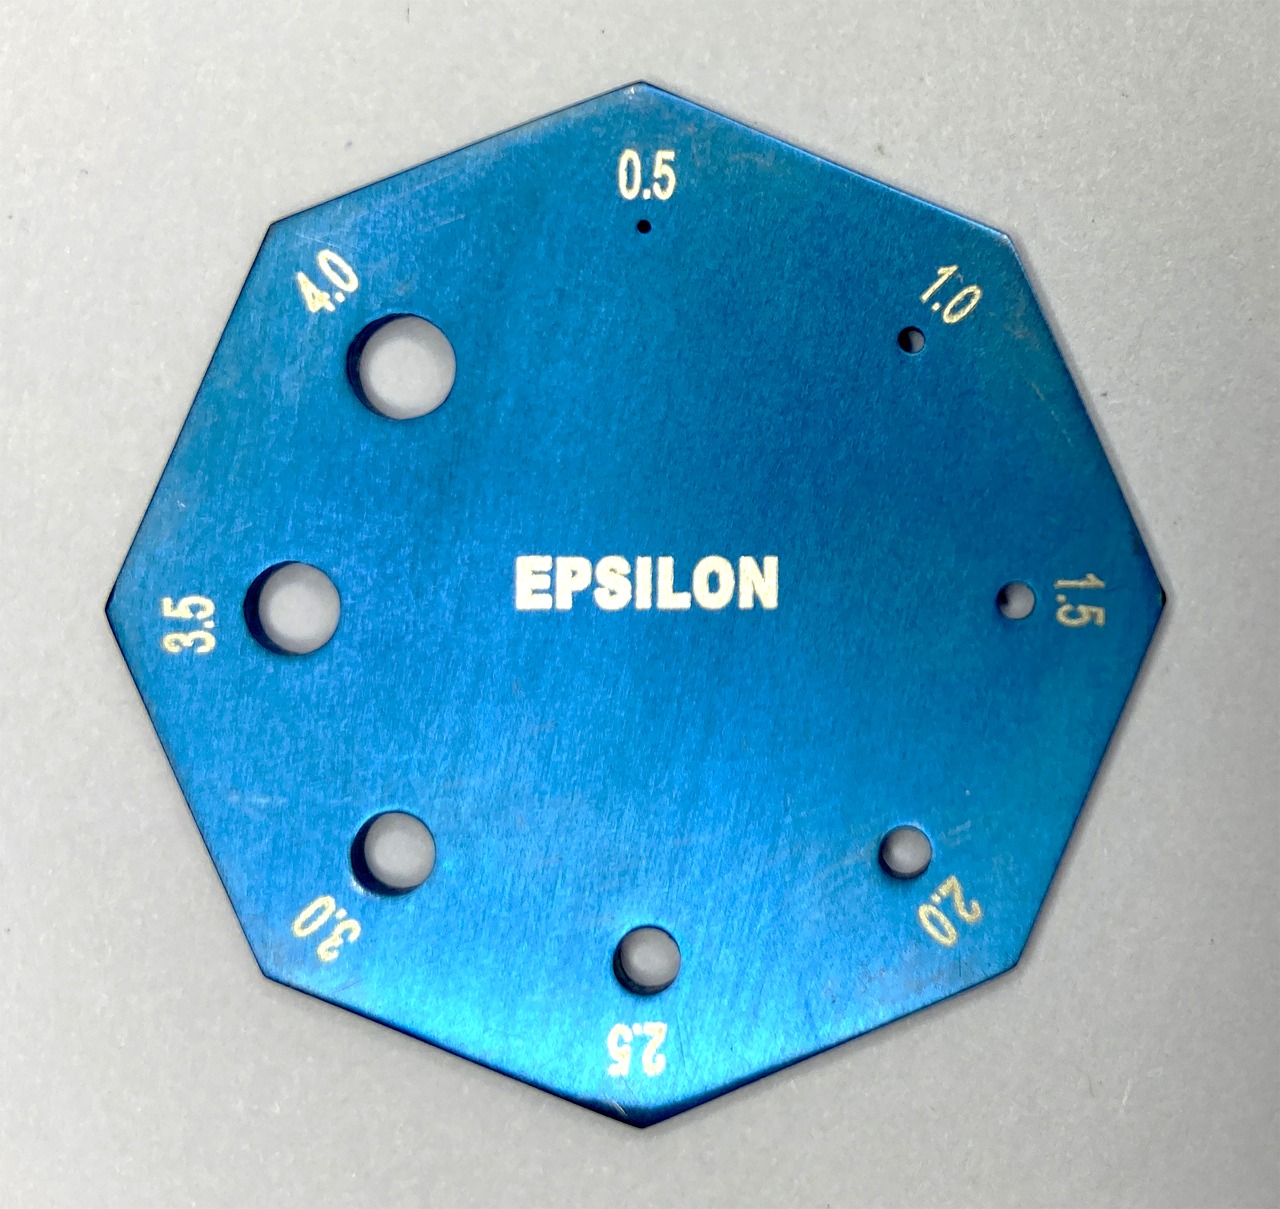
The technique described in the app uses a pupil diameter of 1.0 or 1.5 mm, guided by the preoperative assessment.
Use P1 for centration
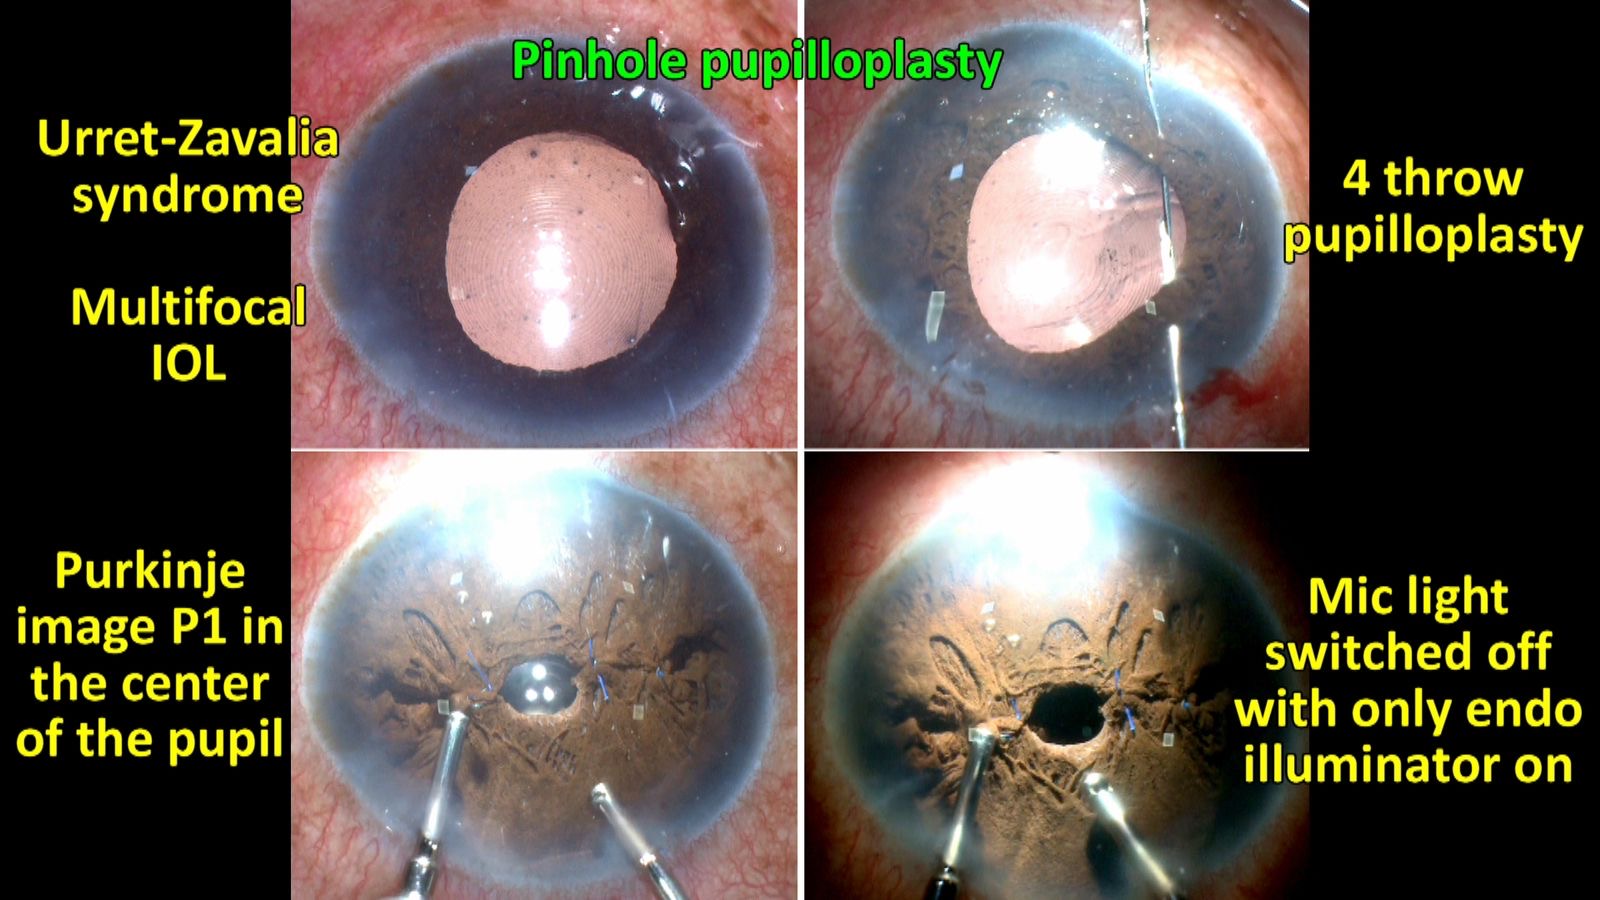
The first Purkinje image (P1) is used as a reference for centring the pupil in the described technique.
Check aperture size in the described setup
The app’s teaching note describes approximately 1 mm when the pupil closely surrounds P1, and 1.5 mm when slightly larger. This is a setup-dependent visual guide, not a universal calibrated measurement.
Assess postoperative vision
Check distance and near vision without glasses after surgery.
Review dim-illumination symptoms
If the patient reports dim vision, reassess the cause and functional impact. The app mentions Nd:YAG enlargement as a possible specialist intervention; this requires an individual postoperative decision.
Reference images
Source and further reading
These teaching notes are taken from Dr Amar Agarwal, Dr Agarwal’s Group of Eye Hospitals, India. The two images are reproduced unchanged.